Independent Research #8: Becoming a Blender Master (& Hallway Progress!)
- Rachel Molnar
- Nov 5, 2025
- 4 min read

Updated: Nov 20, 2025
Welcome to my 8th blog post, where I attempt to study and learn Blender thoroughly!
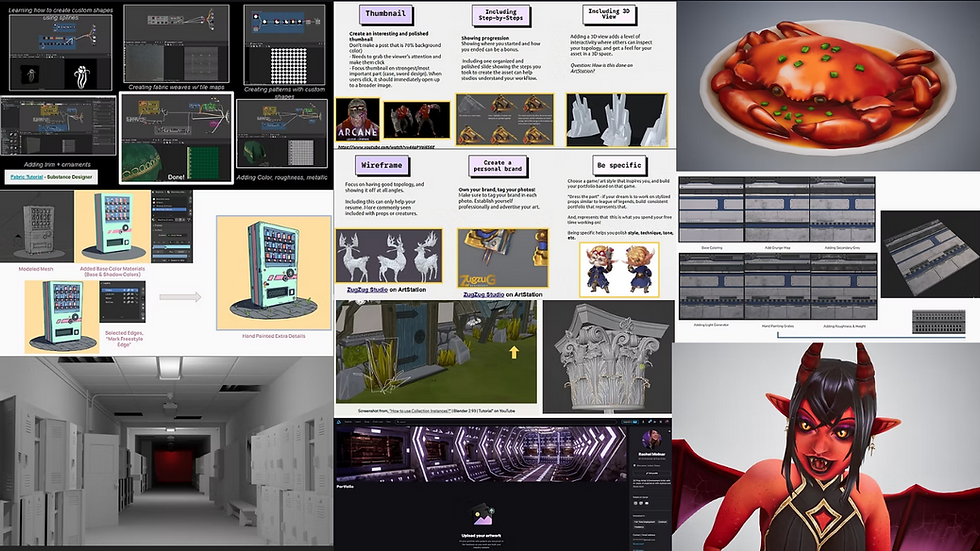
But before we get to that, I would love to share updates on my trim sheet hallway I have worked on throughout my previous posts. Since my last post, I have since created a lateral-opening doorway for my modular hallway, texturing it using a smart material I created based off of my trim sheet, copying levels of roughness, metallic, and grunge to create consistent texture results throughout.

I also created two monitors above the doorway. These will convey, with either a check-mark or an "X", if the door is locked or not, indicating the player must solve a puzzle to override it. The door itself is a product of modeling, then baking high-poly details onto a simple plane.


I am very excited to plug this scene into Unreal Engine. I may end up making some tweaks / making the hallway a little wider, so there may be some changes coming in the future - but that's all to report for now!
Back to Blender!
Since my last post I have since added a lot of information to my Blender Cheat Sheet!
I have been modeling in Blender for the past three years. Before I began this project, I felt pretty confident in my knowledge of the program. Still, occasionally, when I would work on projects, I would stumble across a modifier, an object, or even a setting that was unfamiliar to me. Unsure of its purpose, I brushed it aside, telling myself that I would learn its purpose "another time." But that time never came....
That's why I have tasked myself over the weeks to deep dive into Blender, explore all it has to offer, and learn the answers I had never bothered searching for. I strongly feel that by doing this research and mastering my knowledge in this program, I will become a better, more-rounded 3D artist.
It was tough to decide where to start when reviewing the program: the "add" menu, modifiers, meshes, sculpting... there really are so many features in Blender to explore. I decided to continue my research from the last post, which included exploring the "add" menu.
In short, I quickly realized how severely I miscalculated my knowledge of Blender. Turns out I had never explored even half of the "add" menu. While I learned a ton of new things, here are a couple key take-aways that were entirely new to me:

Lattices:
I learned that Lattices allow for non-destructive deformation using vertex points. They are useful for making large, smooth changes to an object, editing multiple objects at once, or creating complex shapes like stretchy or squashy animations.
This video shows how LAmir.3D used a lattice to manipulate a Mario mesh traveling through a "warp pipe," allowing the character to squish and stretch as the mesh moved through the pipe:https://www.tiktok.com/@lamir.3d/video/7464980005450255618

NURBS Curves:
I learned that NURBS Curves create a mathematically defined curve for smooth-shaped modeling, that can be extruded to create complex structures. (Constraints can be edited in the "Data" Menu).
NURBS curves are useful for modeling smooth, proportional pieces of cars, ships, planes, and even industry advertisements like perfume bottles, a mechanical mouse, and various other things. Since the control points (often called "verts" in other contexts) of a NURBS curve have weight properties, these control points evenly affect the mesh's surface, creating proportional deformation.
This post, written by Cherie Tan, describes the pros and cons of NURBS Curves well.

Grease Pencil
I learned that the Grease Pencil feature allows for 2D drawing in a 3D space, converting strokes into curves with points. This makes it incredibly useful for a blend of 2D and 3D animation in Blender.
When a Grease Pencil Stroke or Empty is added to Blender, you can then switch the Blender mode from "Object Mode" to "Draw Mode." It is usually recommended to use a tablet or stylus when drawing for greater control.
This link directly from Blender's manual I found very helpful when describing the purpose and functionality of the Grease Pencil feature.
I was very inspired by a short YouTube tutorial showing the use of the Grease Pencil tool in Blender to create a parallax animation of a frog sitting on a rock. I found it cool how you could use brushes as a form of animation, specifically using "smudge" pens to push the drawing in a direction to create a sense of movement. (For example, bulging the frog's throat outwards and then keyframing it back to the starting position).


I didn't have the vaguest idea what the Grease Pencil tool did in Blender, but it might be the most inspiring feature I have learned about thus far, one that I want to spend even more time researching and learning about. My goal for my next post is to follow a tutorial and attempt to create a scene with a mix of 3D modeling and the use of the Grease Pencil. Following that, I would like to come up with my own scene and create a short animation.
Ultimately, my biggest lesson yet is that I still have a lot to learn when it comes to Blender, a program I thought I knew plenty about already. Still, this has been a really enjoyable experience and has fueled my hunger for knowledge and improvement as a 3D artist.
My journey exploring Blender thus far has been nothing short of exciting and inspiring, and has really taught me that there is so much out there for 3D artists to explore, and so much I have yet to learn.
I can't wait to share with you all what I do next—until next time!
... As a reminder, here is a link to my Blender Cheat Sheet in case you want to use it for yourself!


Comments